Pay $0 on all credit card transactions and save 90% on your monthly processing costs
Learn more
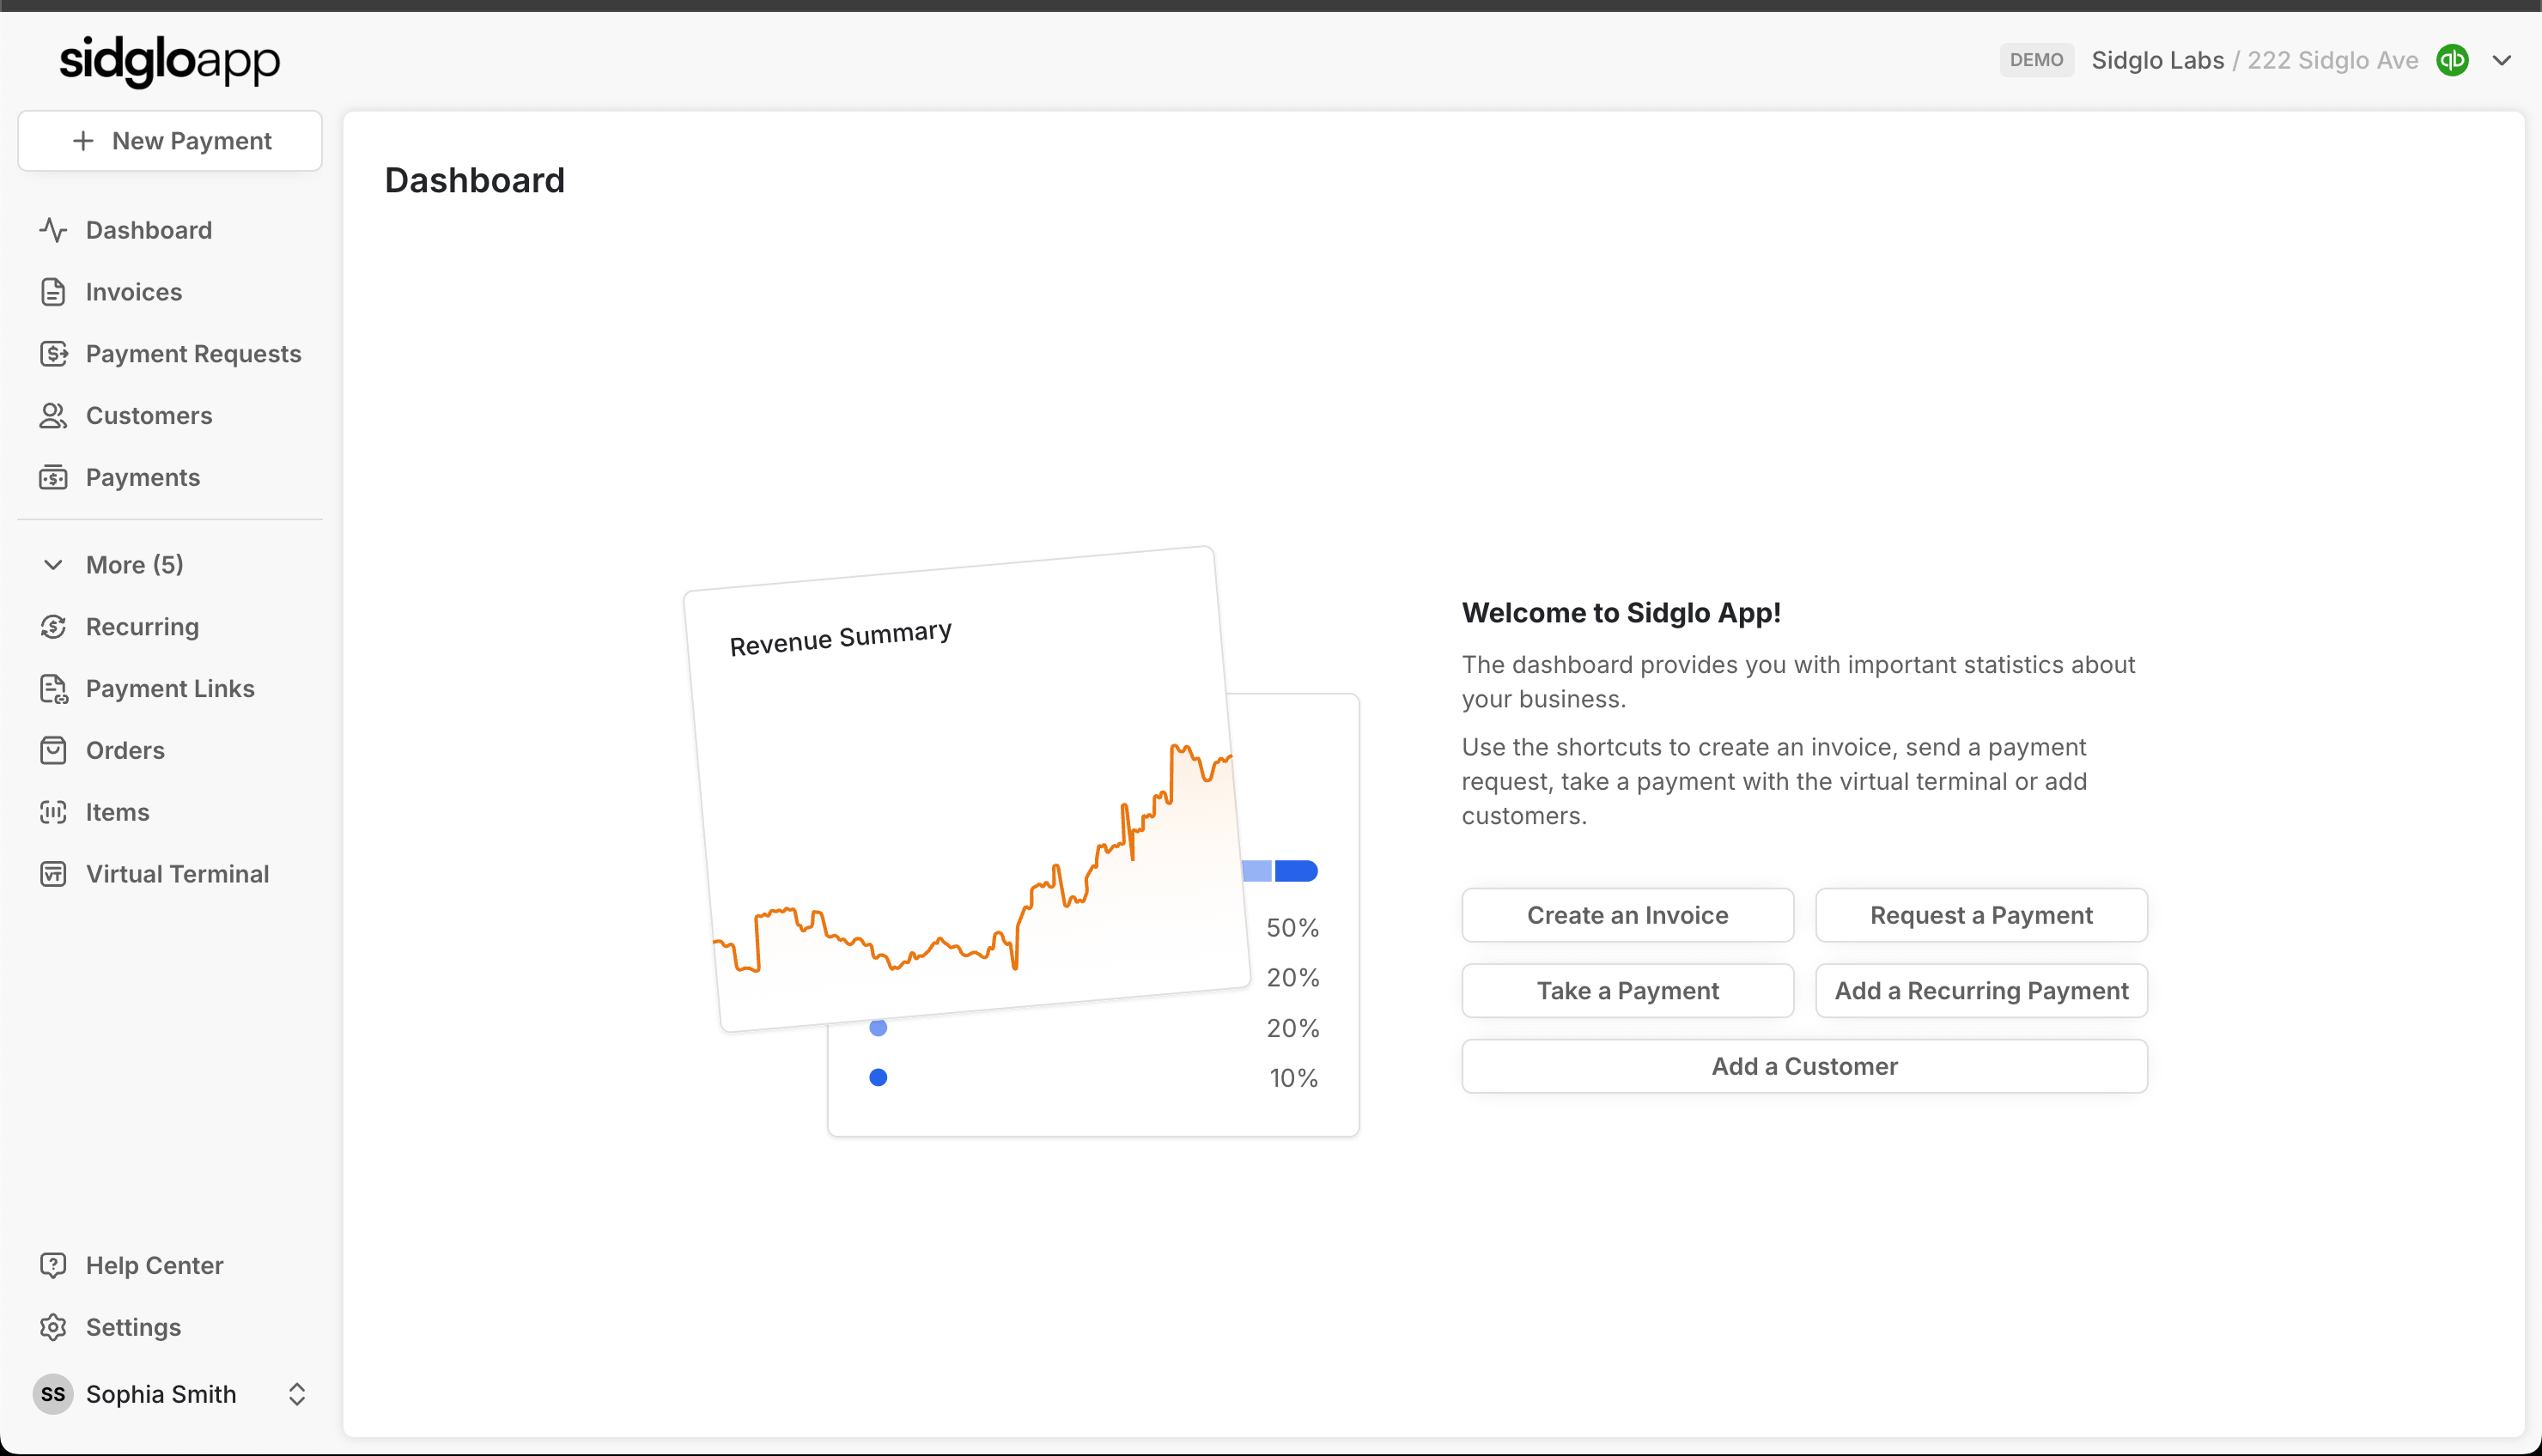
Your account is live and you are ready to take payments. But before you jump in, we recommend taking a few minutes to customize your account.
From customizing your company information to choosing notification settings and enabling key features, these quick steps help make sure everything runs exactly the way you want.
Click "View Onboarding" to begin customizing your Sidglo App experience.
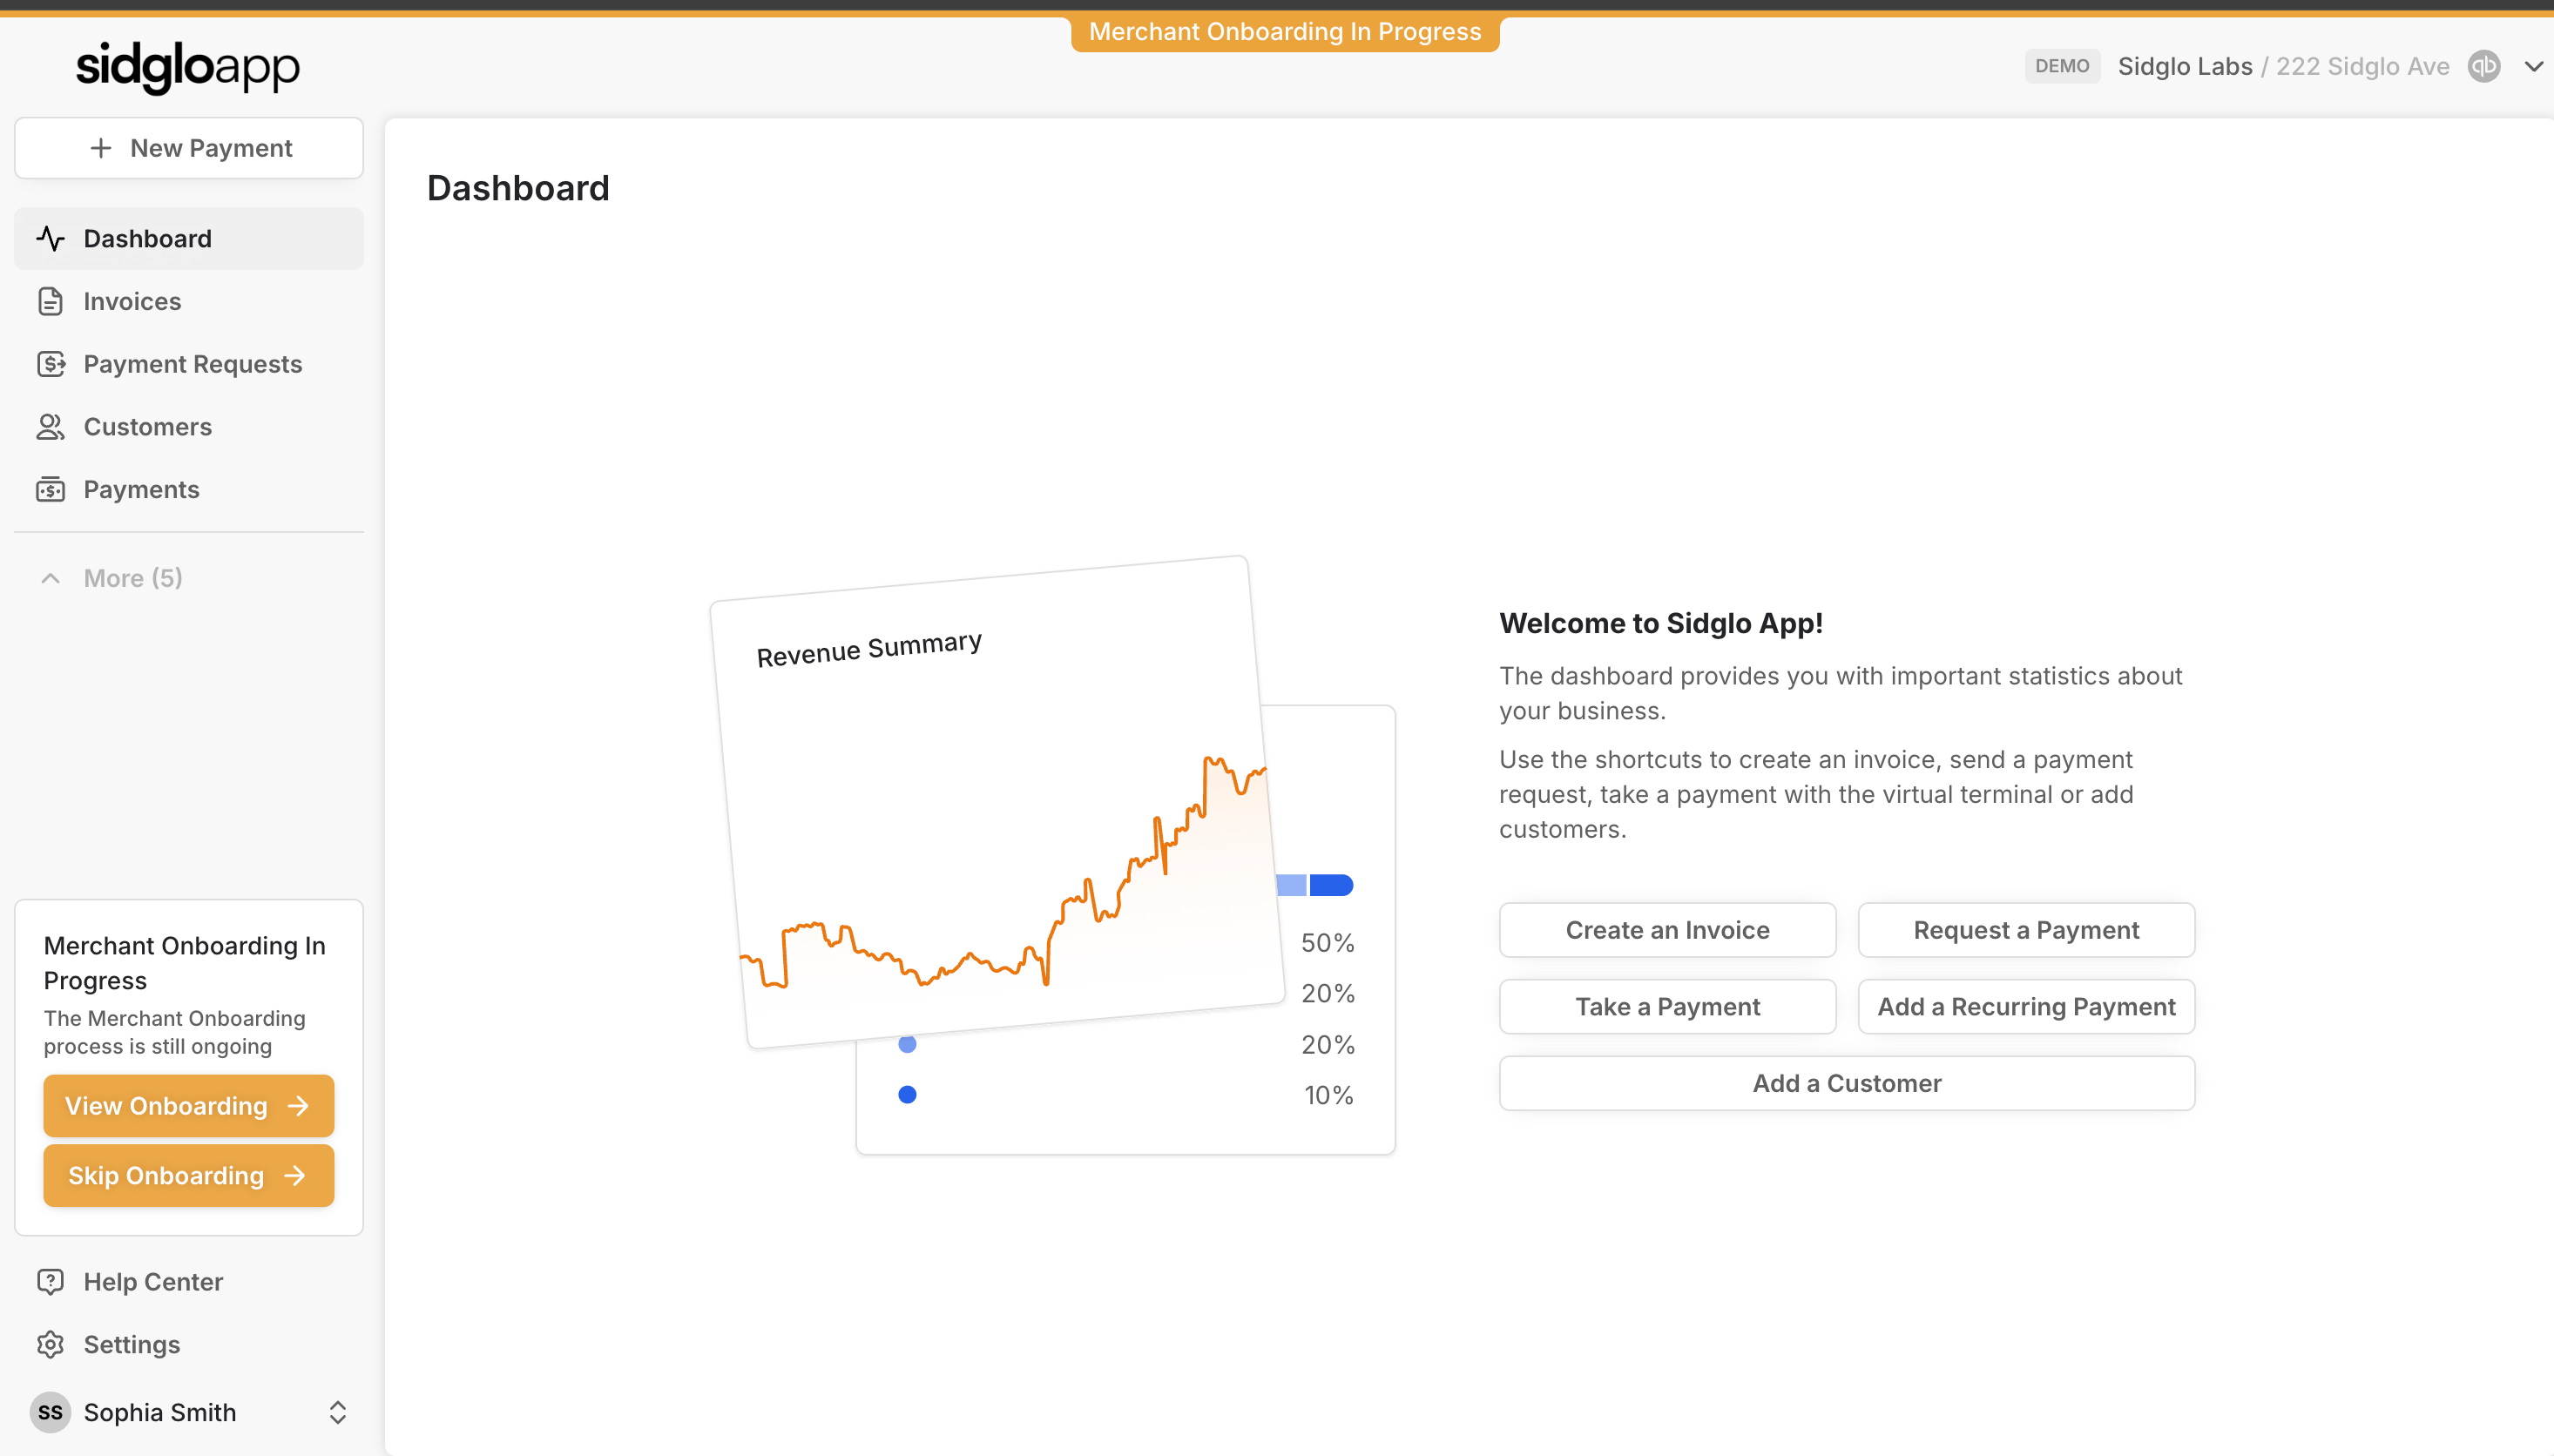
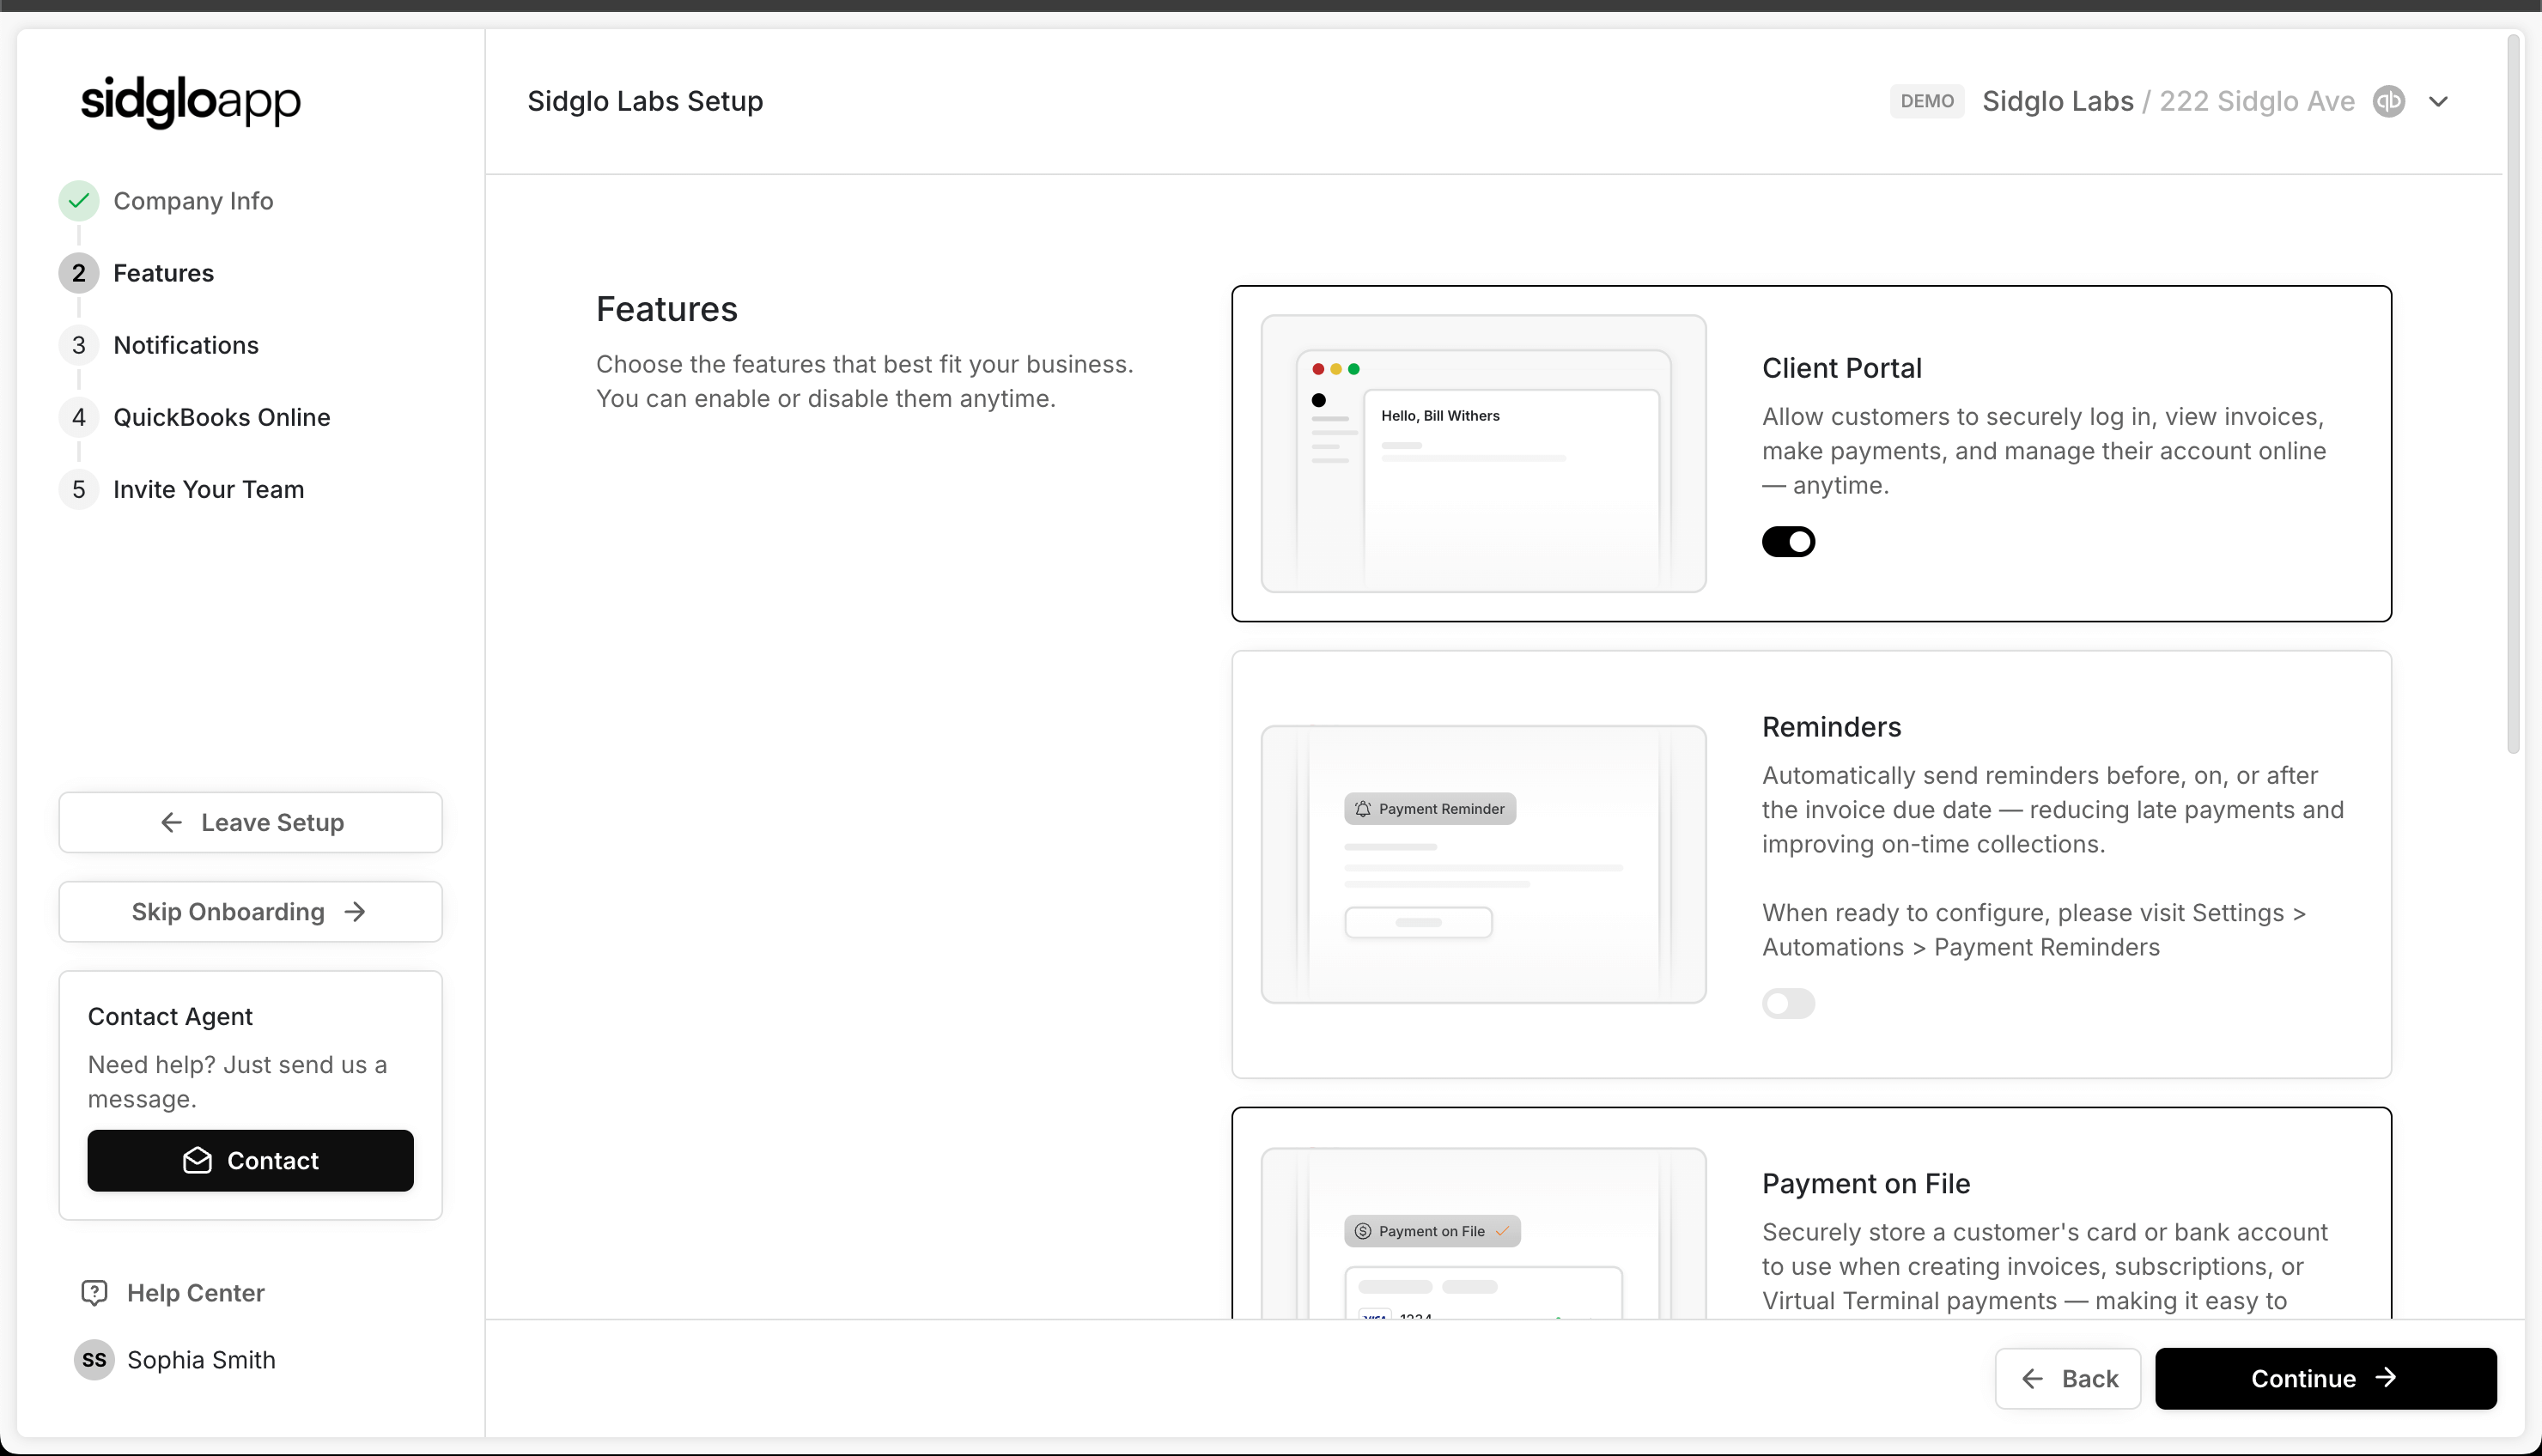
Review and confirm your business details to ensure everything is accurate. You can also upload your logo and adjust your branding settings so your invoices, payment links, and customer communications reflect your business identity.
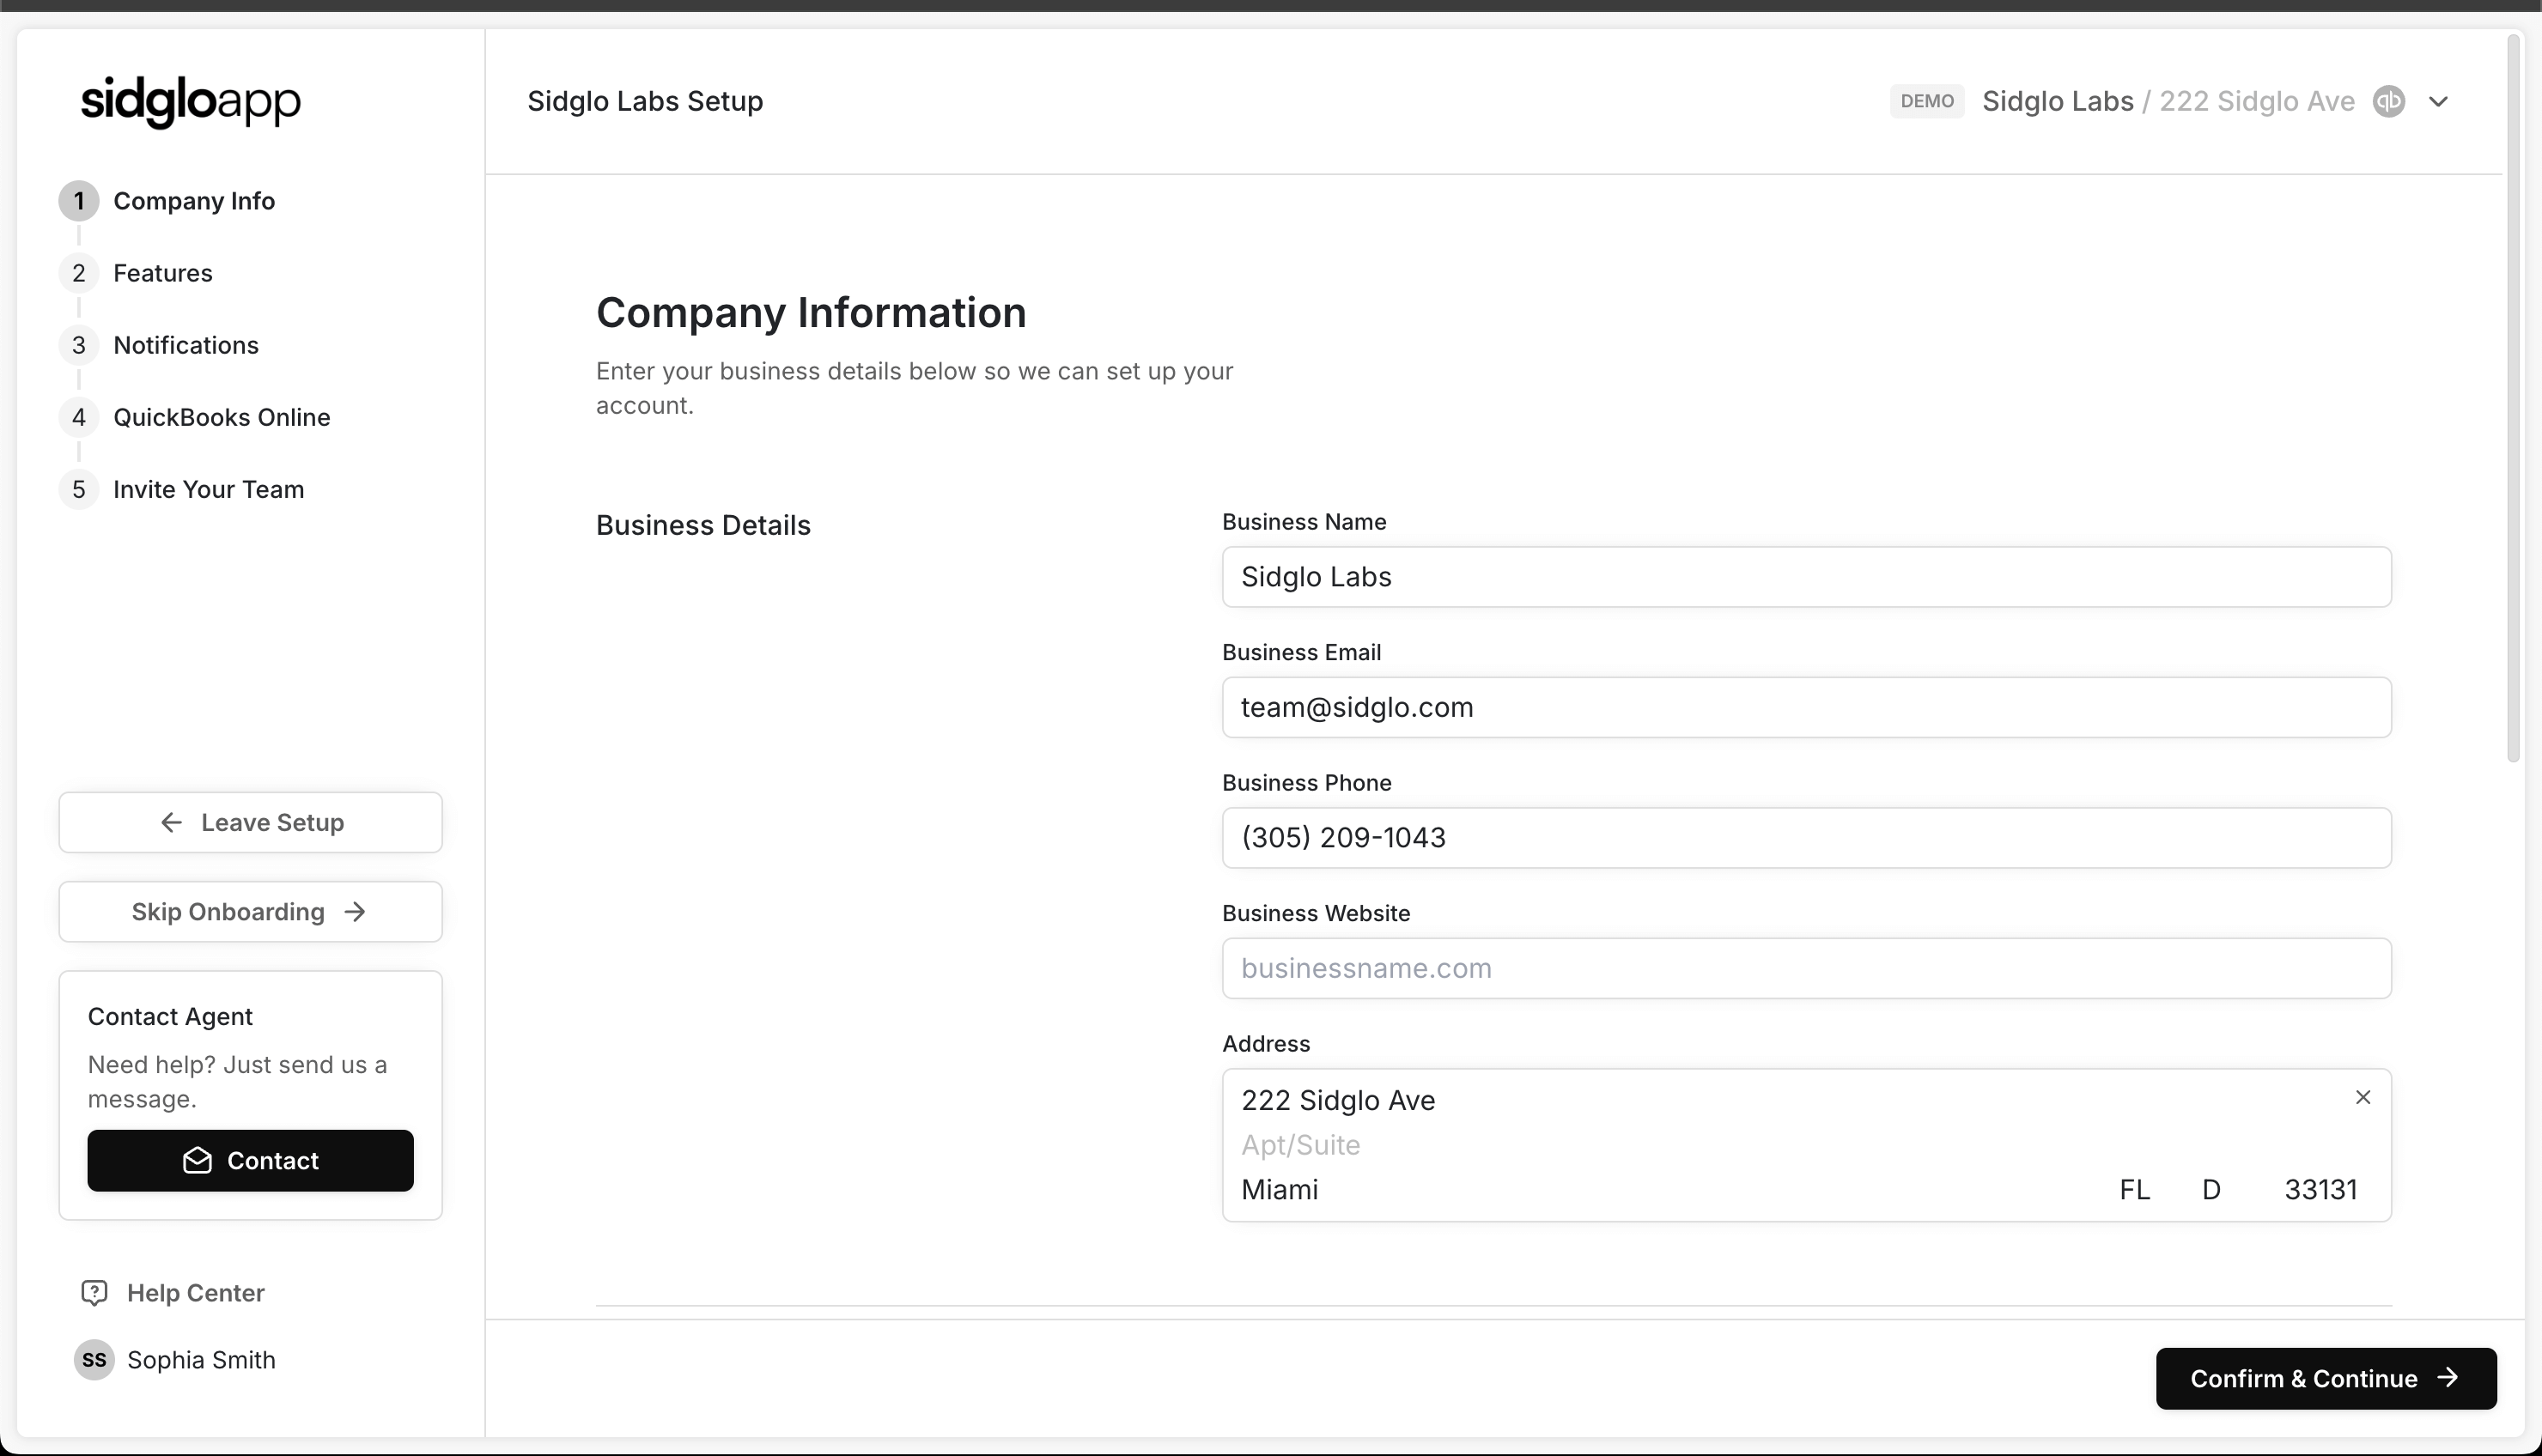
Choose the features that best fit your workflow. Enable options like a client portal, automatic payment reminders, or saving payment methods on file.You can adjust these at any time in your settings
Set your preferences for how you and your customers receive payment updates. You can choose to enable email or text alerts for things like successful payments, failed transactions, payment summaries, and more.

If you requested our QuickBooks integration, this is where you’ll connect to your QuickBooks account. Please scroll to the next section the detailed walkthrough below to complete your integration before moving to the next step.
If you did not request QuickBooks, feel free to skip to the next step below.

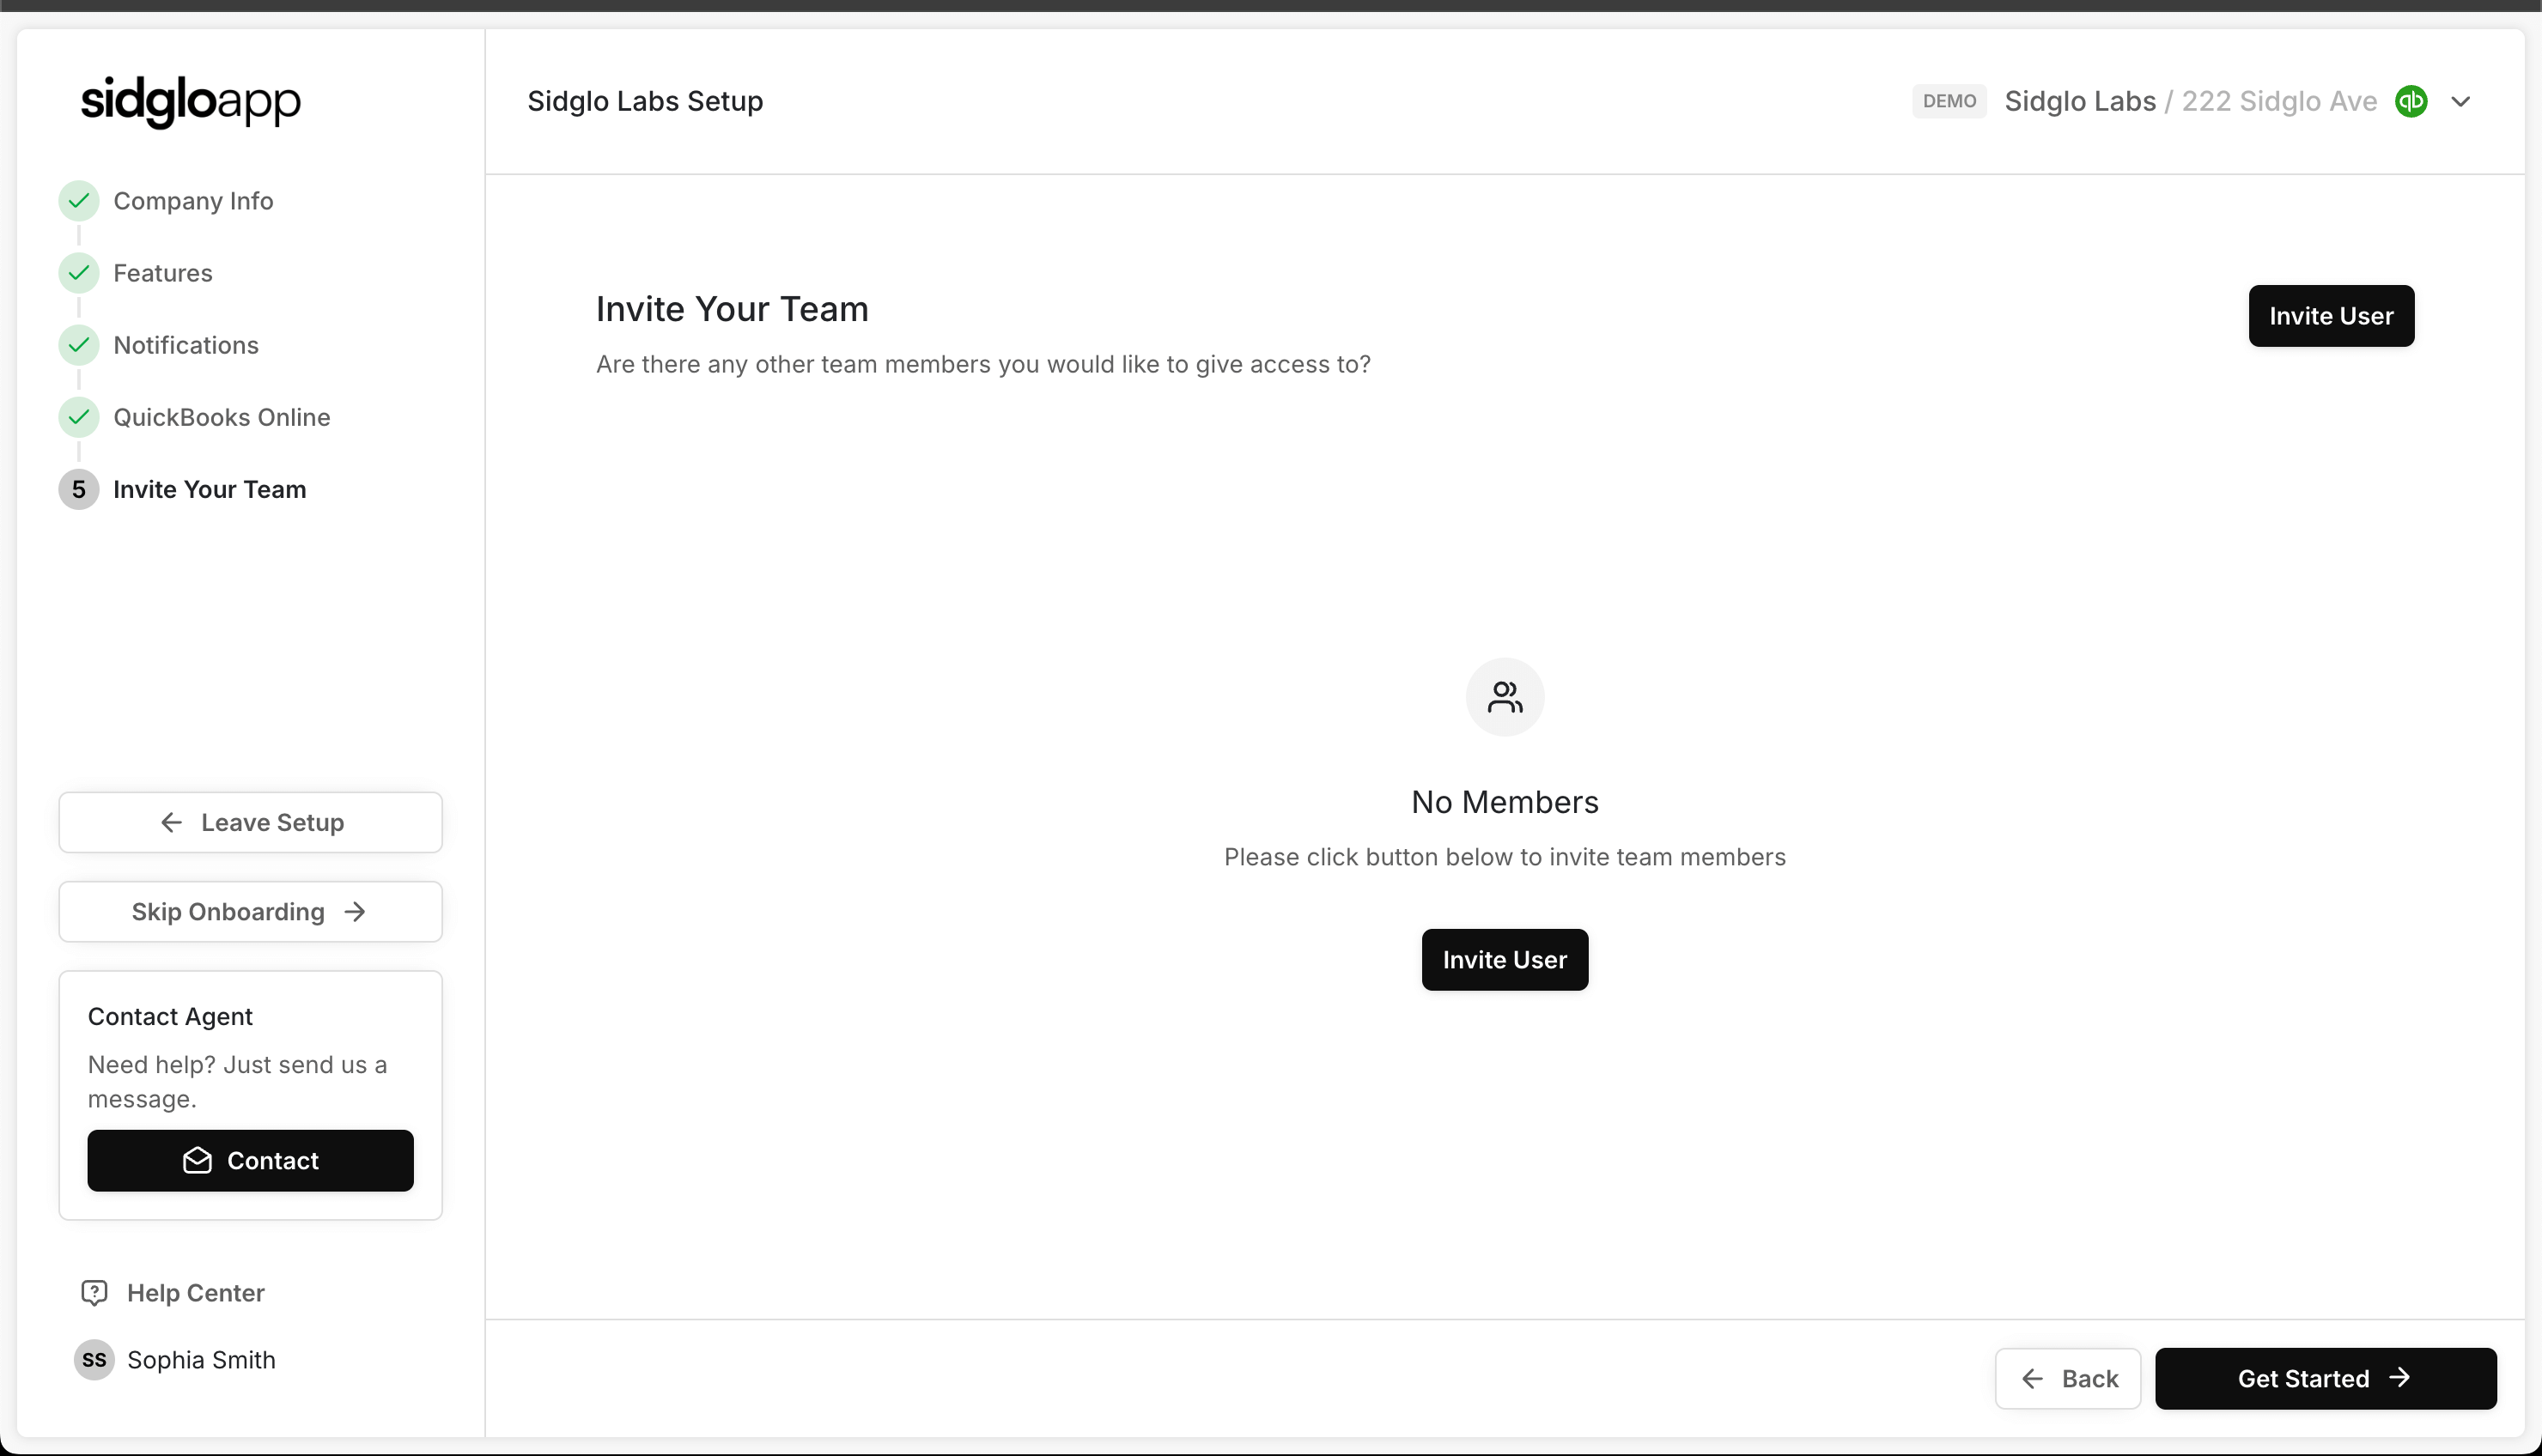
Need others to access Sidglo App? You can easily invite additional users with custom roles and permissions. Whether it’s team members, accountants, or outside collaborators, you decide who gets access and what they can see or manage.
You’re ready to go. Payments are active, your settings are dialed in, and your account is fully set up. You can jump straight into sending invoices, collecting payments, or exploring additional features.
Need to make changes later? Everything can be updated anytime in your settings.
If you have questions or require immediate assistance please don't hesitate to reach out!